
Let’s be honest: walking into the WAEC Chemistry practical exam can feel like walking into a high-stakes cooking show where you don’t know the recipe, the soufflé might explode, and the judge is watching your every move with a clipboard.
If you’ve seen the official laboratory instruction sheet, it probably looks like a bunch of intimidating jargon. But here’s a secret: that list of chemicals and apparatus is actually a cheat sheet in disguise. It tells you exactly what kind of mysteries you’ll be solving on exam day.
Whether you’re stressing about overshooting your endpoint or forgetting how to test for gases, we’ve got you covered. Let’s break down exactly what’s on your lab bench, what it means, and how to ace this practical without breaking a beaker.
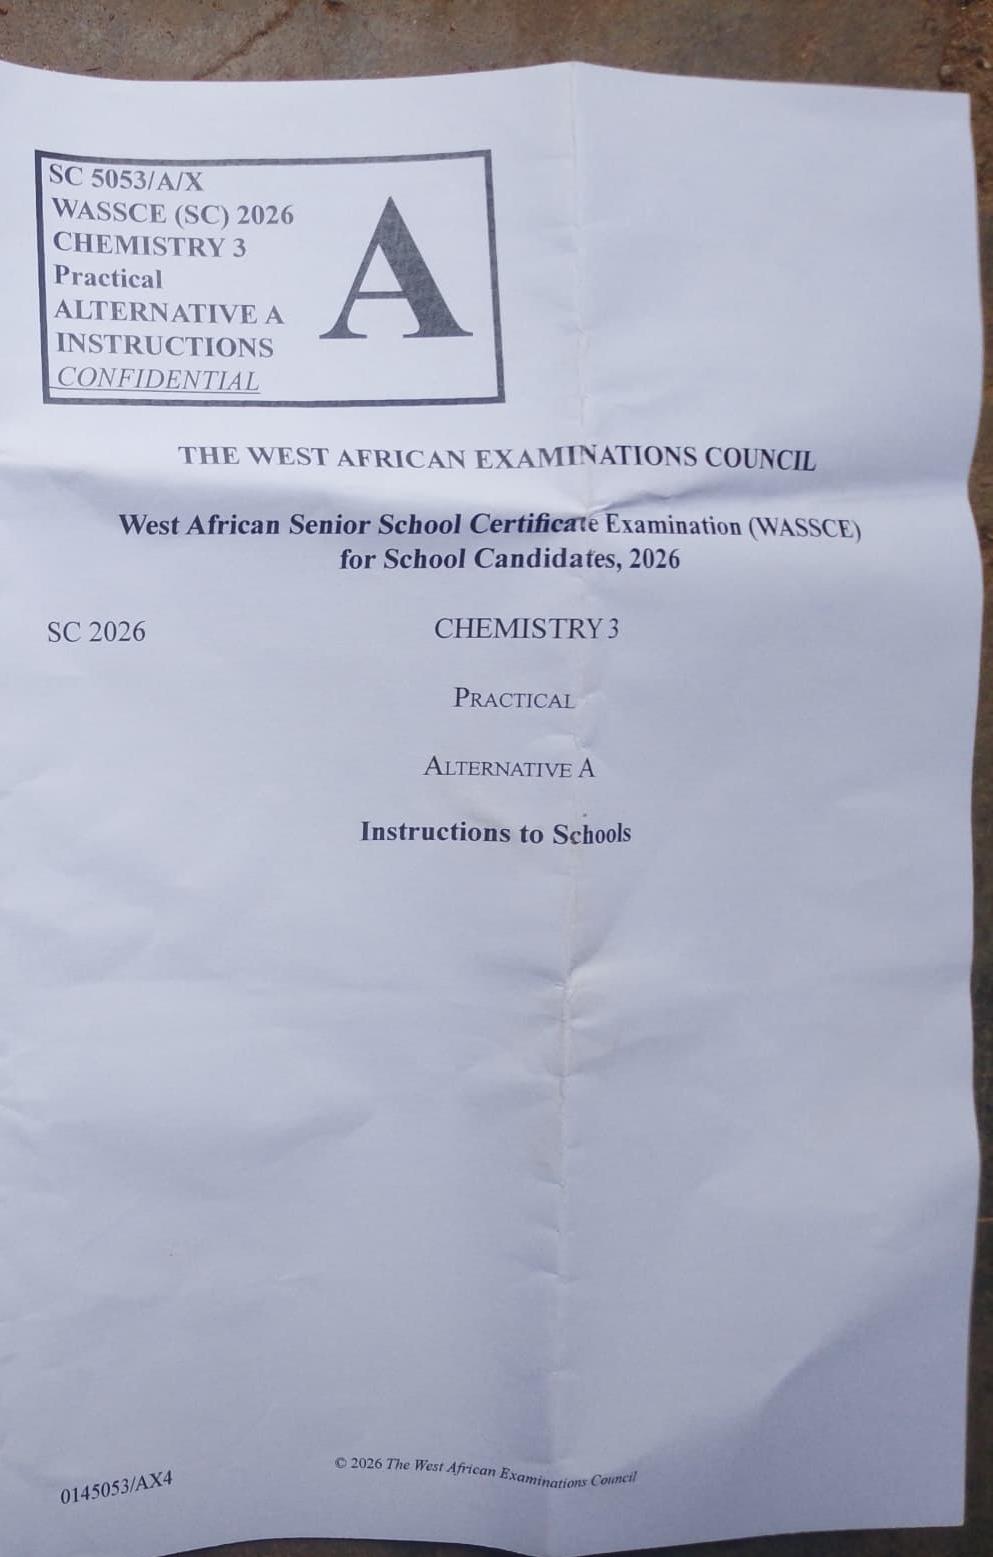
WAEC CHEMISTRY INSTRUCTIONS BELOW
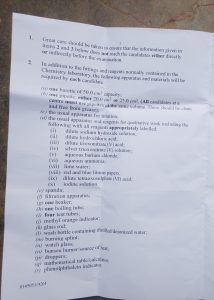
(1) Great care should be taken to ensure that the information given in items 2 and 3 below does not reach the candidates either directly or indirectly before the examination.
(2) In addition to the fittings and reagents normally contained in a Chemistry laboratory, the following apparatus and materials will be required by each candidate:
(a) one burette of 50.0 cm³ capacity;
(b) one pipette, either 20.0 cm³ or 25.0 cm³. (All candidates at one centre must use pipettes of the same volume. These should be clean and free from grease);
(c) the usual apparatus for titration;
(d) the usual apparatus and reagents for qualitative work including the following with all reagents appropriately labelled:
(i) dilute sodium hydroxide solution
(ii) dilute hydrochloric acid
(iii) dilute trioxonitrate (V) acid
(iv) silver trioxonitrate (V) solution
(v) aqueous barium chloride
(vi) aqueous ammonia
(vii) lime water
(viii) red and blue litmus papers
(ix) dilute tetraoxosulphate (VI) acid
(x) Fehlings solution A & B
(e) spatula
(f) filtration apparatus;
(g) one beaker:
(h) one boiling tube;
(i) four test tubes:
(j) methyl orange indicator;
(k) glass rod;
(l) wash bottle containing distilled/deionized water:
(m) burning splint:
(n) watch glass:
(o) bunsen burner/source of heat;
(p) droppers
(q) mathematical table/calculator;
(r) phenolphthalein indicator.
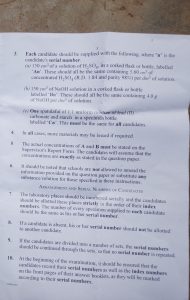
(3) Each candidate should be supplied with the following, where n is the candidate’s serial number.
(a) 150 cm³ of a solution of HCl, in a corked flask or bottle, labelled An’. These should all be the same containing 8.6 cm³ of concentrated HCI per dm³ of solution.
(b) 150 cm³ of NaHCO, solution in a corked flask or bottle labelled ’Bn’. These should all be the same containing 8.0 g of NaHCO3 per dm³ of solution.
(c) One spatulaful of 1:1 uniform mixture of copper (II) tetraoxosulphate (VI) and glucose in a specimen bottle labelled ’Cn’. This must be the same for all candidates
The Top-Secret Prep (Eyes Only!)
First things first: there is a strict rule that the exact details of your solutions shouldn’t be leaked before the exam. Why? Because the examiners want to see your actual laboratory skills in action, not just your ability to memorize numbers. Treat the lab like an escape room—half the fun is figuring it out on the spot!
Weapon of Choice: The Volumetric Toolkit
You can’t go to battle without your armor. Every student will be equipped with the fundamental tools of titration. Here is your baseline gear:
-
One 50.0 cm³ Burette: Your precision weapon. Make sure it runs smoothly before you start.
-
One 20.0 cm³ or 25.0 cm³ Pipette: Clean, grease-free, and ready for action. (Pro-tip: Ensure everyone in your center is using the same size so your class data aligns!)
-
Standard Titration Apparatus: Flasks, stands, and clamps galore.
The Qualitative Chemistry Detective Kit
The second half of your exam usually involves identifying a mystery compound. Think of yourself as a forensic scientist. You’ll be given a massive tray of reagents to help you identify specific ions. Your toolkit includes:
-
The Heavy Hitters: Dilute $\text{NaOH}$ and Aqueous Ammonia ($\text{NH}_3$) for identifying metal cations by their precipitate colors.
-
The Acid Brigade: Dilute $\text{HCl}$, $\text{HNO}_3$ (trioxonitrate V), and $\text{H}_2\text{SO}_4$ (tetraoxosulphate VI).
-
The Clue Finders: Silver nitrate ($\text{AgNO}_3$) for halides, Barium chloride ($\text{BaCl}_2$) for sulphates, and Lime Water for catching carbon dioxide red-handed.
-
The Color Changers: Red/blue litmus papers, Methyl Orange, and Phenolphthalein.
-
The Sugar Trap: Fehling’s solutions A & B—a dead giveaway that organic chemistry analysis is on the menu!
Unboxing Your Mystery Samples: What “A”, “B”, and “C” Actually Mean
When you sit down, you’ll be handed three specific, labeled bottles. Here is the insider breakdown of what you are actually dealing with:
Bottle A: The Acid Powerhouse
You will receive 150 cm³ of a hydrochloric acid ($\text{HCl}$) solution. It contains exactly $8.6\text{ cm}^3$ of concentrated $\text{HCl}$ per $\text{dm}^3$. This is your standard acid for the titration matchup.
Bottle B: The Fizz Master
You will get 150 cm³ of Sodium Hydrogen Carbonate ($\text{NaHCO}_3$), packed at $8.0\text{ g}$ per $\text{dm}^3$. When this reacts with Bottle A, expect some serious effervescence (bubbling). Keep your eyes peeled for gas evolution!
Bottle C: The Double Agent
This is where things get interesting. You’ll get a single spatulaful of a uniform, 1:1 mixture of Copper (II) tetraoxosulphate (VI) and Glucose.
-
The Copper component means you should expect some beautiful blue solutions and specific displacement or precipitation reactions.
-
The Glucose component is a reducing sugar, meaning those Fehling’s solutions from your toolkit are definitely going to come into play. Get ready for a spectacular color change from blue to brick red!
Take a Deep Breath: You’ve Got This!
When you strip away the formal laboratory language, a Chemistry practical is just a step-by-step puzzle. You have the tools, you know what the chemicals are, and you know how they behave.
The secret to acing a practical exam isn’t being a genius; it’s being organized. Read your instructions carefully, rinse your burette with the acid (not just water!), watch your meniscus, and record your observations the exact second they happen. Clean work leads to clean results.
Now, double-check your calculator batteries, keep your safety goggles on, and go conquer that lab. Good luck!